When you make a personal pledge in a public forum to draft, design, and sew a pair of trousers in a month’s time and actually accomplish it, the sun shines a little brighter and your short legs look a little longer.

A few days after writing about my custom denim pencil skirt, I found out that Brooks Ann Camper, my favorite long distance sewing teacher, had developed a pants drafting system with NO standard sizes or pre-defined measurements (unlike the ones in my pattern drafting textbooks filled with “lower by 1/4-inch “or “check the size chart” kind of guidance). The drafting method uses the skirt block I crafted in her original class and a new set of body measurements for bifurcation. She invited her Skirt Skills students to participate in the first run of her Smarty Pants e-Course and I jumped in with both feet.
In fact, the course is still going on now! We’re in the last week of things, learning the finishing steps for TWO pair of custom pants drafted from blocks: trousers and yes….jeans. Since the course can be both self-paced and real-time, I chose to make my trousers in pace with the 6-week lessons and will start on my jeans block and fitting afterward.
So, this story about making linen trousers from the ground up will be told with a little less word count and more hyperlinks than usual. Besides, you may already know the story if you’ve been following my “Me Made May” 31-day micro-blogging marathon on Instagram under the hashtag #wannabesewingpants.

Every First Draft is Perfect
Drafting my way to a garment pattern has been surprisingly less stressful than dealing with the ambiguity of opening the envelope of a purchased pattern or assembling a downloadable one.

In custom sewing class, we’re reminded of the inherent perfection of the first drafting work that happens with a block pattern. It’s job in pantsmaking is to represent a map of my lower body and legs. Once drafted into existence, it is a perfect resource of information for whatever pants style I want to design.
Knowing that my final garment will be based directly on information from MY BODY (not some “ideal” body I must compare mine to) is like getting a hug and a dozen roses from your best friend before going on stage. It’s the best kind of self-administered sewing support.
To understand how well my two-dimensional waist-to-ankle map corresponded to my three-dimensional body, I spent some time evaluating a muslin mockup up of my wide legged trouser block. The process put me in the role of Sewing Detective as I considered how to give a bit more room for my body at the crotch area. I sketched out a theory on my croquis so I could understand the impact the pattern correction would have on the fit of my trouser block, and spent a few days getting lost on the way to executing it. Ultimately I re-learned the value of slowing down during construction.
Design in the Trenches
I only had a rough idea of what kind of pants I’d make when I declared my intentions to all of the #Sewcialists. I wanted to see what specific inspiration would strike once my block was ready, so I pinned all the pins in a sartorial tribute to Katherine Hepburn’s iconic trousers-wearing and raided my fabric collection for options suitable for the wide-leg style I had in mind. The timeframe I had to work in, the warm season, my patience, and skill level (yep, still hovering somewhere on the spectrum between advanced beginner and intermediate seamstress) were also a part of the Committee for Real Life Sewing that influenced my design process.

By day 20, I’d worked out a sketch of a simple design for a pair of linen trousers with familiar construction features to prevent first-timer fumbles (thinking back to the topstitching drama of my denim pencil skirt) that could trigger my inner Samuel L. Jackson and jeopardize my momentum:
- A straight/wide leg, drafted 3cm narrower then my trouser block pattern that sits at my natural waist
- A hip-length waistline facing for tummy control
- An invisible side zipper
- 3 patch pockets – 1 in front, 2 in back
I really enjoyed the pattern work that solidified my original sketch and was glad I didn’t design more features than I could handle. With jeans as my next mission, there would be plenty of patterning, construction work, and even more topstitching (Bring it on!) to feed my appetite for design play.
11th-Hour Finish
I highly recommend timing your major construction work over a three-day holiday weekend. I may have missed out on all the Memorial Day happenings around town, but I did take a break from sewing for a highly-anticipated face to face meetup with Brooks Ann where she answered my final construction question (hell yes to twill tape along the waistline stay stitching) and let me get all “fan girl” for a while and go on about sewing for way longer than my husband can tolerate at home.

With the power of The Force still with me, I returned to my project and followed the custom sewing techniques I learned in class to semi-baste together my flax linen trousers (shout out to the lovely, UK fabric store that sent me 3 meters of Robert Kaufmann Essex Wide Flax cotton/linen in the hopes I’d make something fabulous with it one day that might reach my UK readers looking to support an independent business trying to branch out into garment-weight fabrics), try them on, adjust the fit and pass on the changes to my final garment pattern.
For this pattern in the heavy-bodied, almost bottom weight linen-cotton blend fabric I’d chosen, I took in the side seams by 4 cm, tapering from the waist to the thigh. I’m curious how a linen with more drape would respond to the design. When I’m done with the course, I may follow my curiosity to another pair of linen trousers.
When I returned to work after the holiday break, the big analytics project I’d kicked off earlier in the month had picked up steam and time-sucked me into a thousand meetings that made me get that hallway-stretching horror movie feeling that I was never gonna get out of here and back to my sewing room. I ultimately escaped. It was day 31 and I had only hours until midnight to finish my trousers in time to meet my self-imposed deadline.

With only a handful of “monkey-fighting” moments —I do admit to banning my family from my presence long enough to install, remove, and re-install (with the right foot this time) an invisible zipper without interruption — I finished my trousers around midnight and proceeded to sleep like a baby. When Baby woke up the next day, she wore the cutest trousers and the biggest smile to the office.

Thank you, to the #Sewcialists of Instagram who followed and encouraged me with likes and you-can-do-its along the way. Sharing my goal with such a big audience helped me see it through to the end. A month-long, public marathon of making was pretty intense, so I’ll probably keep my attempts to once a year.
With this latest dive into custom sewing, however, I learned so much (besides the ass-kicking skill of self-drafting pants) from the experience…like how to get the most of the small chunks of time available to me, how to create a garment plan to guide my approach, and how to trust my fitting and design instincts to make me enormously proud of what I can produce with my mind and hands.


 There was a little apprehension over cutting into a perfectly wearable shirt, but re-watching Mr. Rogers episodes over my kid’s shoulder has got me totally on board with make-believe. So, I pretended to be in a Project Runway unconventional materials challenge. The fantasy built up my momentum and gave me an excuse (not that I needed one) to entertain myself with Tim Gunn impressions.
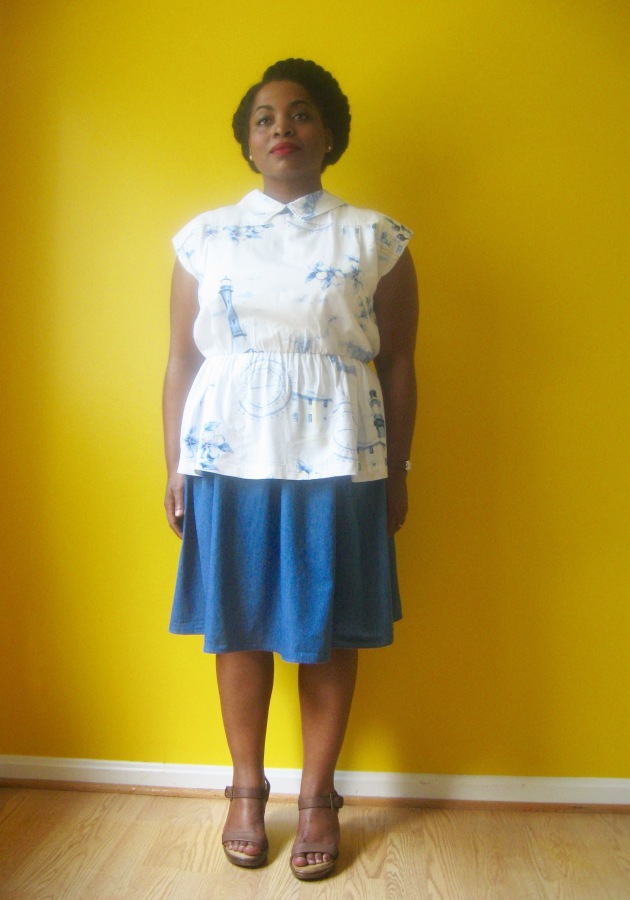
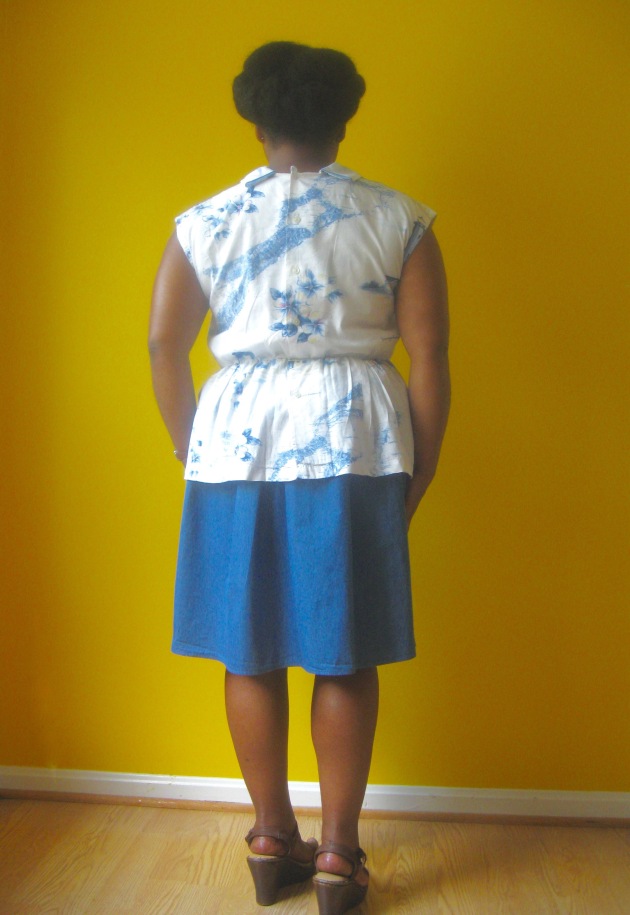
 To save the shirt’s well-stitched hems, I had to unpick them at the side seams and newly created panel seams. Totally worth it! After trimming down the new peplum to the length of the sleeve panel piece, I attached it to the new bodice by invert-pleating the panels to fit the waistline. Quarter-inch elastic inserted in the seam allowance cinches everything in.